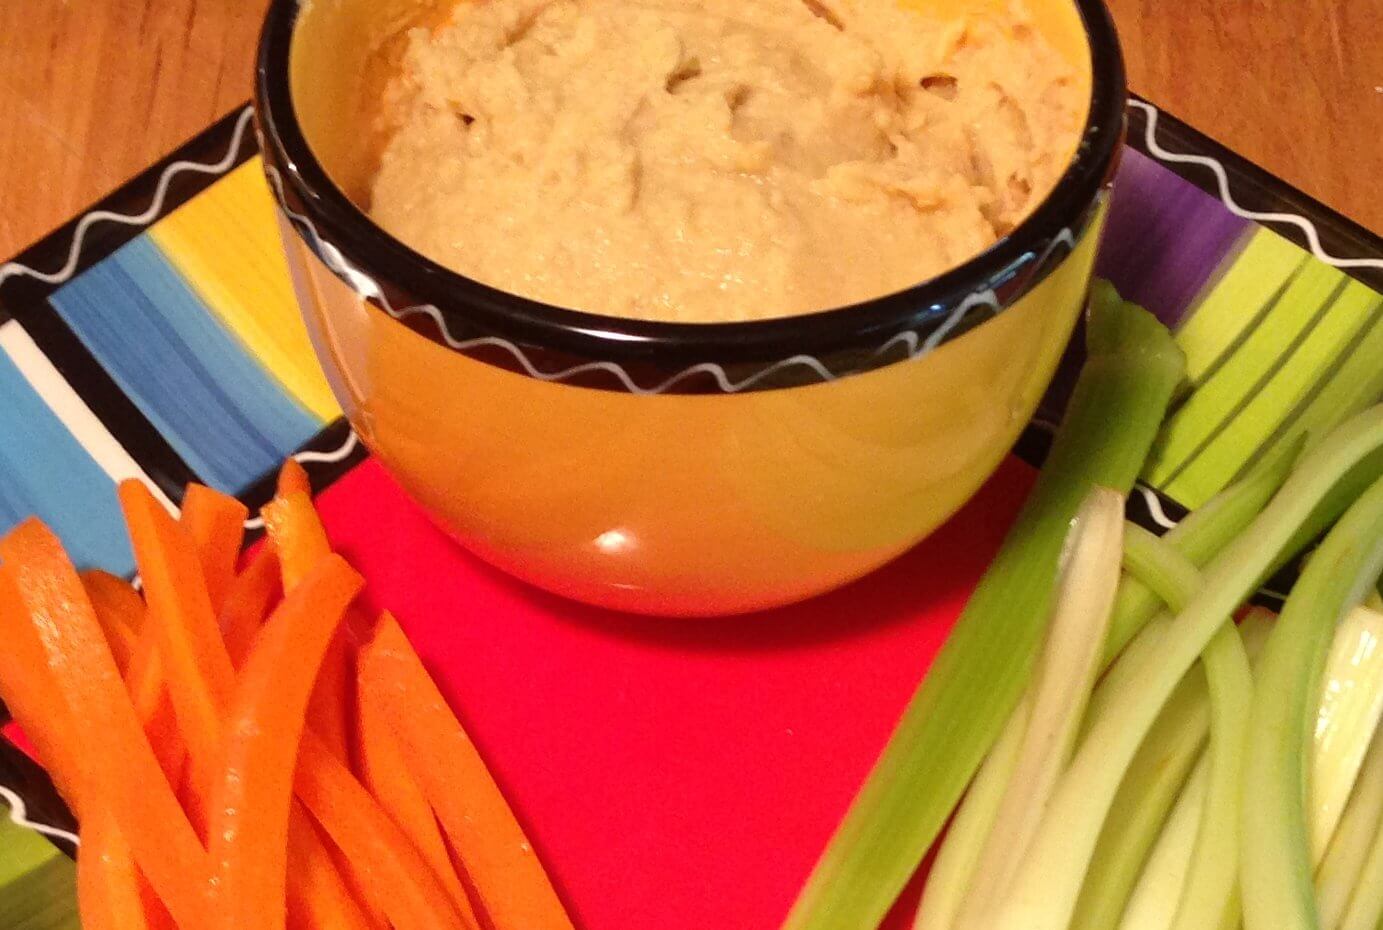
 There’s nothing like fresh garden vegetables and a perfect homemade hummus dip to brighten up a hot afternoon or compliment a light summer supper.
This homemade hummus recipe is ultra smooth, creamy, super healthy and super cheap to make.
The most expensive ingredients are the tahini and the extra virgin cold pressed olive oil, but you use so little of them that one jar of tahini (anywhere from $5 to $9 depending where and what kind you buy) will last for at least 8 uses in this recipe; and the olive oil will last even longer.
Both are really good healthy ingredients well worth the investment. The olive oil should be used for your salad dressings and cold food preparations. If you need an oil to cook with, use coconut or peanut oil, both of which remain stable when heated. You can do a quick gently saute’ with olive oil, but it is healthier to use it just for your cold and room temperature food preparations.
This homemade hummus is a perfect use of olive oil and the quality of the oil makes all the difference in the final result. If you’ve never tried a real extra virgin cold pressed olive oil, you will be amazed at what it does. A spinach or mixed greens salad with an olive oil, vinegar and lemon dressing will suddenly become some of the best eating you’ve ever had in your life. So tender and so perfect. Real old fashioned oil has enzymes and properties in it that are processed out of the commercial brands and it tastes very different. It’s what makes it good for you too, so give it a try; you’ll be glad you did.
And with all the talk of ‘fake’ olive oils going on these days, do the refrigerator test if you are unsure: put some of the oil in the fridge. If it turns to a semi solid, it’s real stuff. If it stays liquid it’s not. I skip all this and just get the most amazing oil I’ve ever tasted, Frantoia. I started buying it at my local mom and pop grocer years ago, but when we moved away from them I found I could pick it up on Amazon. I sometimes grab a couple of bottles from my favorite home town grocer when we go for a visit to see the kids.
However you procure it, do yourself the favor of getting the real thing, it keeps your heart healthy and your palate happy.
This recipe makes almost a quart of homemade hummus, enough for a big party. However, twice this summer I have set out a full serving to a group of 4 people, and there was absolutely none left at the end of the meal. So, I believe this recipe should serve a large gathering, however it seems to serve only 4.
Equipment
- Large bowl
- Medium to large saucepan
- Measuring cups
- Colander
- Food processor
- Sieve / Strainer

The Homemade Hummus Recipe
This homemade hummus recipe is ultra smooth, creamy, super healthy and super cheap to make.
The most expensive ingredients are the tahini and the extra virgin cold pressed olive oil, but you use so little of them that one jar of tahini (anywhere from $5 to $9 depending where and what kind you buy) will last for at least 8 uses in this recipe; and the olive oil will last even longer.
Ingredients
For the Soak:
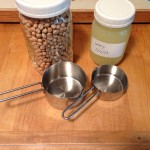
- 2 cups dry garbanzo beans/chick peas
- 1/2 cup raw milk homemade whey or lemon juice
- Filtered water
For the cooking:
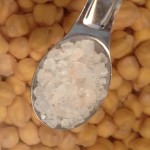
- 2 tsp Himalayan or un-processed sea salt
- Filtered water
For the processing:
- 1/4 cup extra virgin cold pressed olive oil
- 1/4 cup tahini organic raw or toasted, as you prefer
- Juice of 2 lemons
- 4 to 6 cloves garlic
- 1 tsp cumin
- 1/2 tsp ground corriander seed
- Reserved cooking liquid as needed
Instructions
-
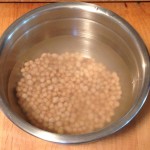
The day before you want to make the recipe, start a soak of the garbanzo beans in filtered water and either homemade whey or lemon juice. Let them soak in a covered bowl at room temperature for 24 hours, drain and rinse well, and then you can go right into making the recipe.
-
Garbanzo beans, whey (or fresh squeezed lemon juice), and enough filtered water to cover the beans in about an inch of water
-
Cover with a dishcloth and let sit out overnight. The closer to a full 24 hours the soak, the quicker the cooking will go in the next step.
-
After the soak, drain the beans through a colander, and rinse well.

-
Place in a medium saucepan and fill the pan to 1 inch below the top with fresh clean water. Add two teaspoons Himalayan or unprocessed sea salt.
-
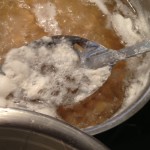
Set on the stove on medium high heat, cover and bring to a boil. It is important to wait until the water is boiling , and not get distracted and go off to do something else. When the beans begin to boil, a foam will form on the top of the pot and you need to skim it off with a slotted spoon.

-
After the foam is all removed, or as much as possible, put the lid back on and reduce the heat to medium low.
-
Simmer for 2 hours. Checking occasionally to see that there is still water in the pot. This is particularly important if your lid does not seal. Add water if the water gets below the level of the beans.
-
After two hours, test for tenderness. If they are soft and taste cooked, they are ready. If they are still slightly hard, let them cook another 20 to 30 minutes and test again. When they are done they are soft and plump and taste wonderful. Be careful not to eat too many, the goal here is to make hummus!

-
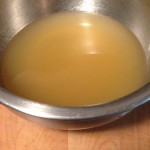
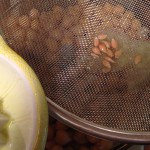
Now drain the water again, only this time reserve the water you drain off in a bowl. Place the colander inside a large bowl and place the whole thing in the sink. Run cold water over the beans until they are floating in the colander. You may have to dump the water and start again a few times until the water stays cold.
-
It's time to remove the skins from the beans. Once the water is staying cold, turn it down so it is running gently into the colander and over the sides. Now, run your hands through the beans and rub them between your hands gently while swishing in the water. Repeat this motion while working to the bottom of the beans and moving upwards. The skins will begin to separate and float to the surface. The water going over the sides of the colander will carry some of the skins out into the sink. Most of them you'll have to pick out of the water.

-
You don't have to get them all, but try to get most of them. We'll use a trick at the end of the recipe to remove the ones you miss, so it's okay if you don't get them all.
-
Place the beans in the food processor. Gather your ingredients for processing the homemade hummus.

-
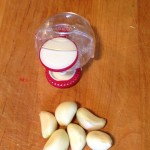
Mince the garlic.
-
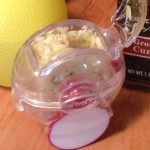
This part is my favorite, because I get to use the little German garlic chopper my mother-in-law sent me from Germany. Fill it with the peeled cloves, close it and run its little wheels on the cutting board a minute or less, and you're done!
-
Add the oil.

-
Add the tahini. You will most likely have to stir it very well first as tahini tends to separate into the solid and oil in the jar. Use a butter knife or slender spatula to mix it well and then measure out your quarter cup and add it to the processor.
-
Juice the lemons and add the juice through a sieve to catch the seeds so they don't go into the processor.
-
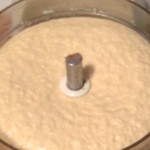
Add the cumin and coriander, put on the lid, and process for a few minutes until smooth.

-
Check the thickness of the hummus. It should be liquid but thick. If it is too dry it will not be easy to dip into with chips or vegetables. Remember it will get thicker when it is chilled, so you want it a little on the wet side, but not so wet it becomes soup.
-
Add small amounts of your reserved cooking liquid through the chute opening of the processor until you think it is right. Remove the top and test the thickness with a spoonful. Adjust until you are happy with it. It may still be a bit coarse, but we will deal with that next.

-
Process for another two to three minutes and test for consistency again.
-
When the hummus is thoroughly blended, and as smooth as the processor is going to get it, set up your sieve over a large bowl.
-
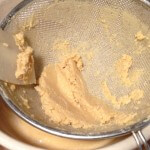
Empty the contents of the processor into the sieve,
-
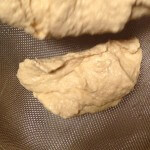
and use a large spatula to push the hummus through the sieve. When you've pushed it all but the last hard skin pieces through, wipe the bottom of the sieve to remove all the hummus to the bowl.
-
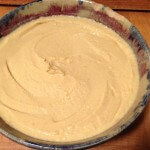
You'll have a small dry and pretty hard ball of the skins that did not get picked out early and the homemade hummus will be super fine and smooth.
-
You're ready to set it up in a bowl to cover and place in the refrigerator to chill for a couple of hours.
-
Now all you have to do is wait a couple of hours to get it to chill, and then you can serve it and eat it. It always tests best the next day, or even the day after as the flavors all blend and combine over time; but it tastes plenty good enough as soon as it's chilled. Serve the homemade hummus with peppers, celery, carrots, cucumber sticks, pitas, naan or your favorite chips.
Recipe Notes
We like a strong garlic flavor to our hummus, so we use six large cloves to make it. If you are not so crazy for garlic, use 4 or even 3 cloves in your recipe.


Leave A Comment